The Postalytics App is now available in the Canva App Marketplace! This integration seamlessly connects the creative power of Canva with the robust tracking and automation of Postalytics, making it easier than ever for marketers to move from a design concept to a live mailing campaign.
If Canva is your preferred design platform, this tool eliminates common workflow headaches—no more worrying about complex file downloads, re-uploads, or manual print specification checks.
The Postalytics App inside Canva delivers:
Effortless Exports: Design your mail piece in Canva and export the final asset directly to your Postalytics account. The integration handles the technical heavy lifting for you.
Ready-Made Templates: Access a growing library of production-ready Postalytics templates right within Canva, ensuring correct sizing and structure from the start.
Speed and Simplicity: Eliminate friction between your creative and production phases, accelerating your campaign launch.
The process of turning your Canva design into a trackable mail piece is a six-step journey. The following visual guide outlines the progression from connection to your static design asset to a launch-ready template. Remember: The Canva integration handles your static background artwork, while the Postalytics Editor is used for layering in dynamic elements like personalization and tracking codes.

What Versions Can Be Used?
Canva
Any version of Canva - Business, Pro or Free, but there are limitations when using the Free version. Things like:
Limited templates and elements for design
RGB Color export only
CMYK export requires a Pro or Business plan
Access to other exporting features such as: file size, compression, and background transparency
Postalytics
Any version of Postalytics - Agency, Pro or Marketer Subscriptions, as well as our Free Plan.
Ready to get started?
Follow the steps below to ensure your final mail piece is both beautiful and functional.
Step 1: Activate the Connection Between Postalytics and Canva
The connection process can be initiated in one of two ways:
Directly within your Postalytics account
From within the Canva app
Below are the steps for each option.
Connect From Your Postalytics Account
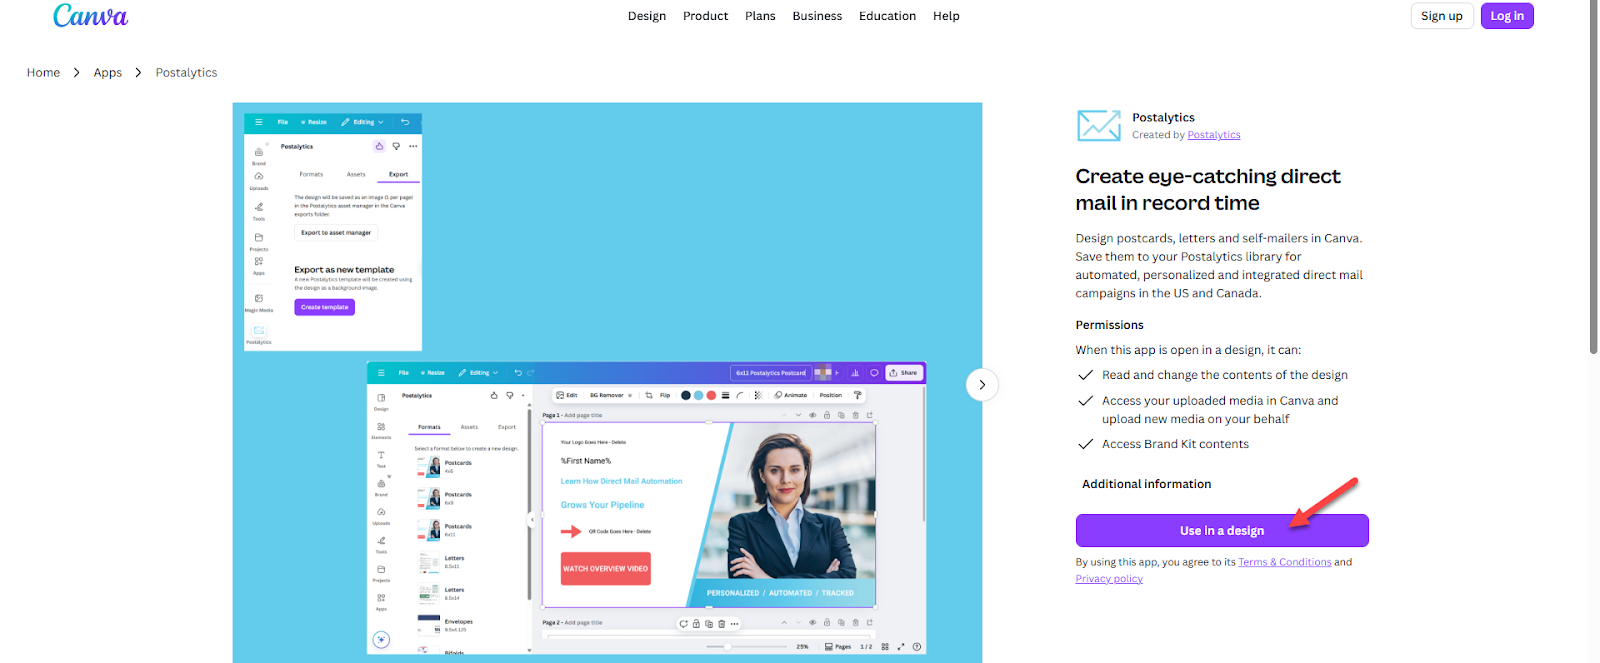
From your Postalytics account, navigate to “New Templates” from the “Creative” tab, then click “Create with Canva”, to open the Postalytics app within the Canva application.

Complete the Canva Connection. From the Postalytics app page. Select “Use in design” to continue.
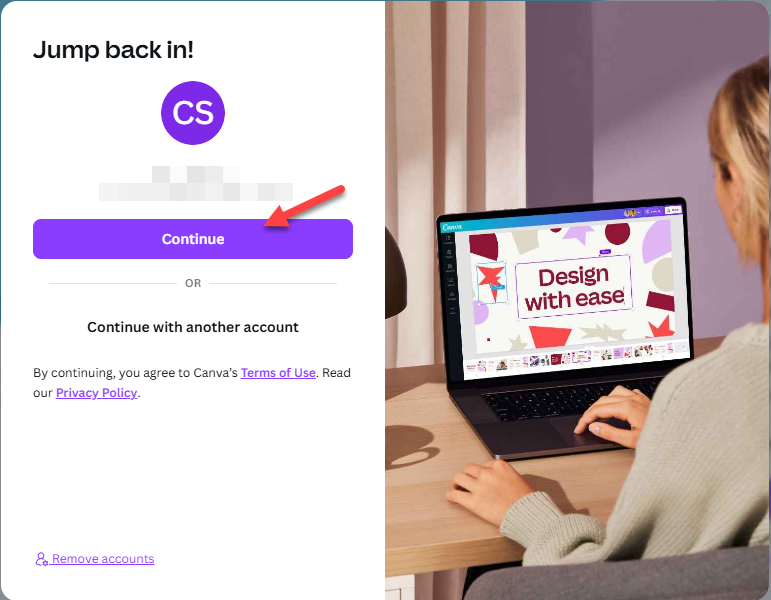
Log into your Canva account.
Select “Use in new design”.
While you can use any Canva design, the required specifications must match Postalytics exactly. We highly recommend that you start with a pre-set Postalytics template offered in the Postalytics section. This ensures perfect upload and print specifications.

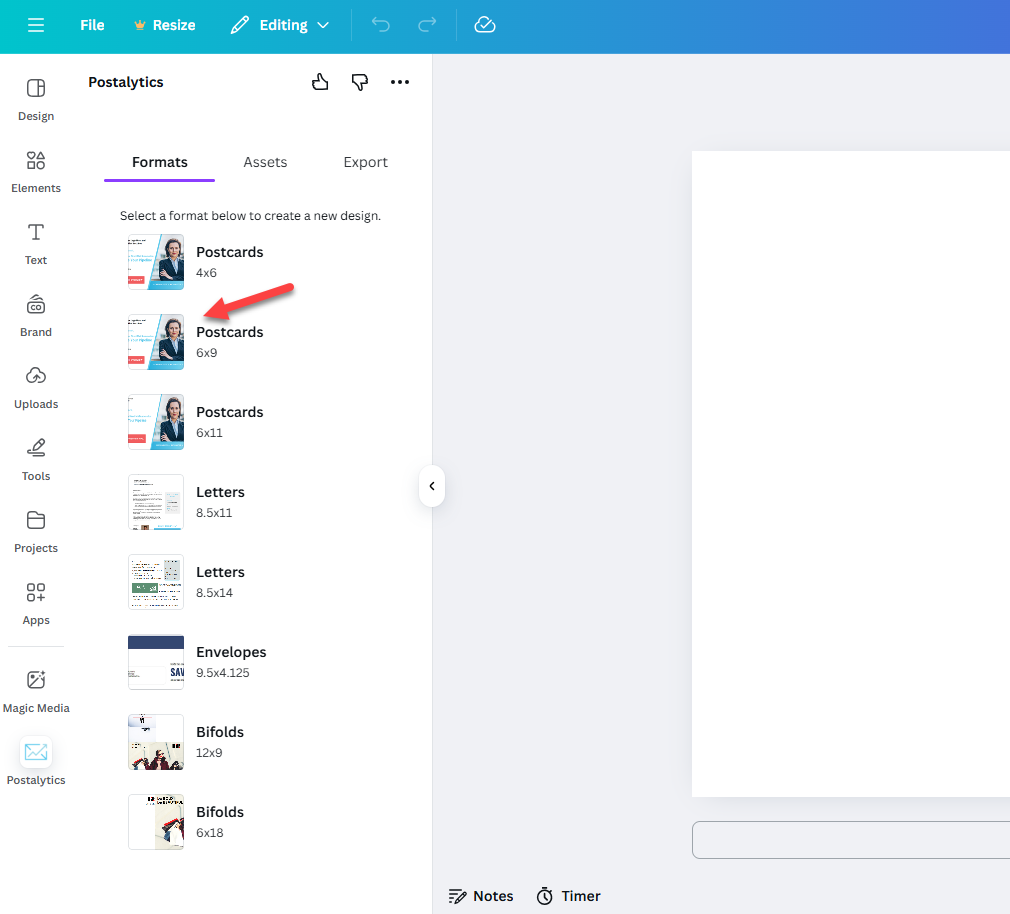
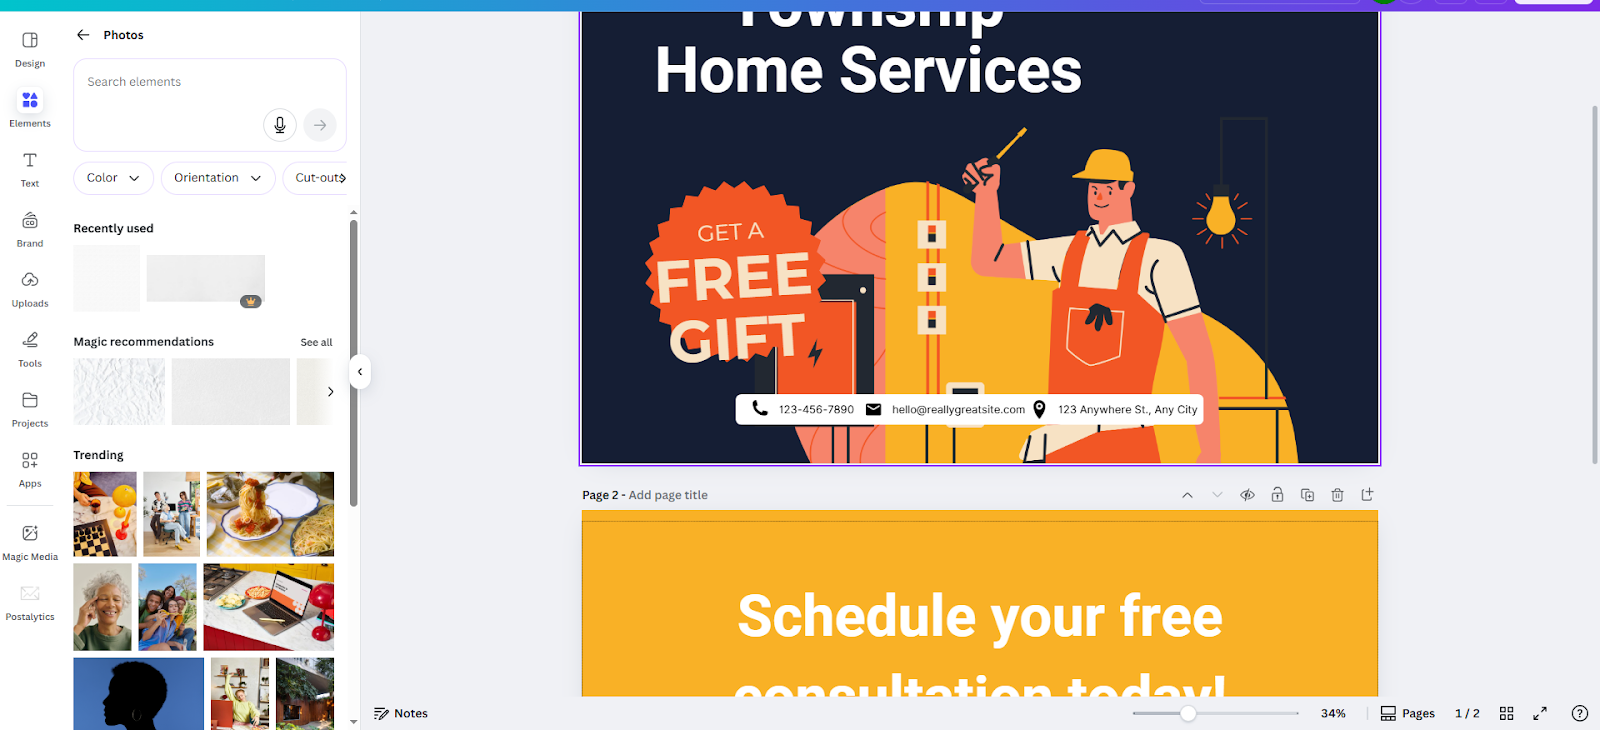
In the pop-up search section, select any of the dropdown menu items. (Once in the design area, you will only be able to select from Postalytics specific templates and sizes.)

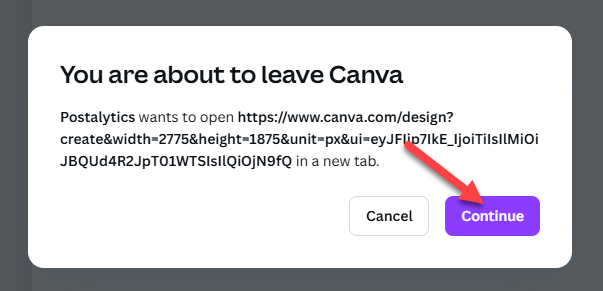
Finally, select the Postalytics template type you wish to create from the left hand panel, then click “Continue” in the following pop-up window to connect the two applications, and begin creating your template.
You’re now ready to move on to the “Design a Template” section below.
Connect from the Canva app
Log in directly to your Canva account.
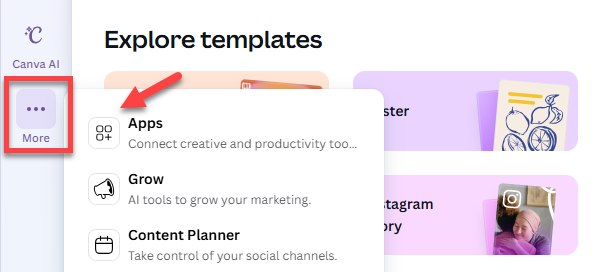
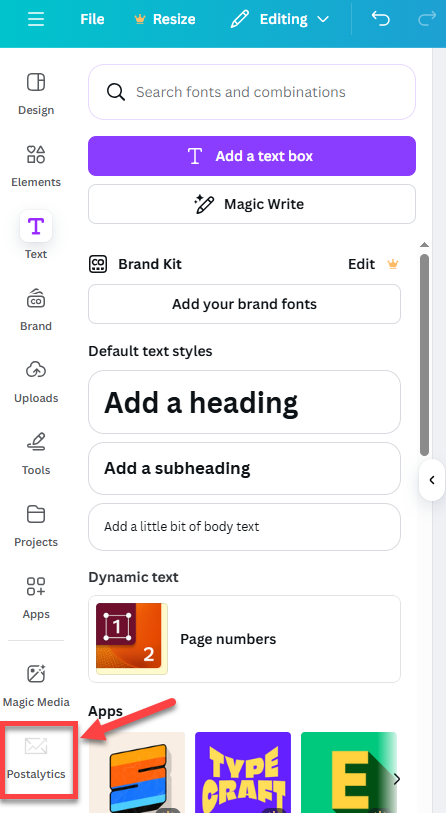
Navigate to the left-hand menu and click "Apps".
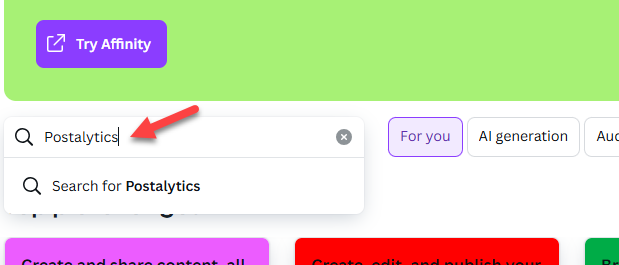
In the search bar, type "Postalytics", and then click on the Postalytics icon.

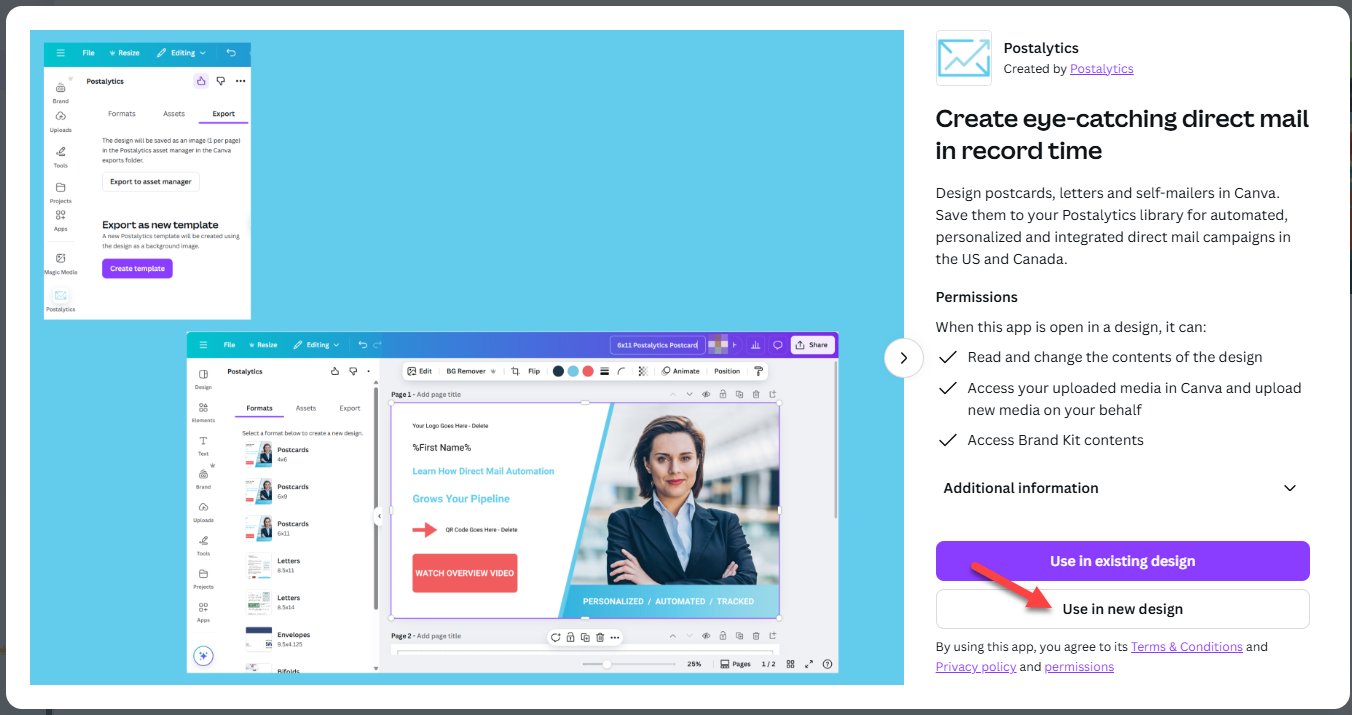
Connect to Postalytics. Select “Use in new design”.
While you can use any Canva design, the required specifications must match Postalytics exactly. We highly recommend that you start with a pre-set Postalytics template offered in the Postalytics section. This ensures perfect upload and print specifications.
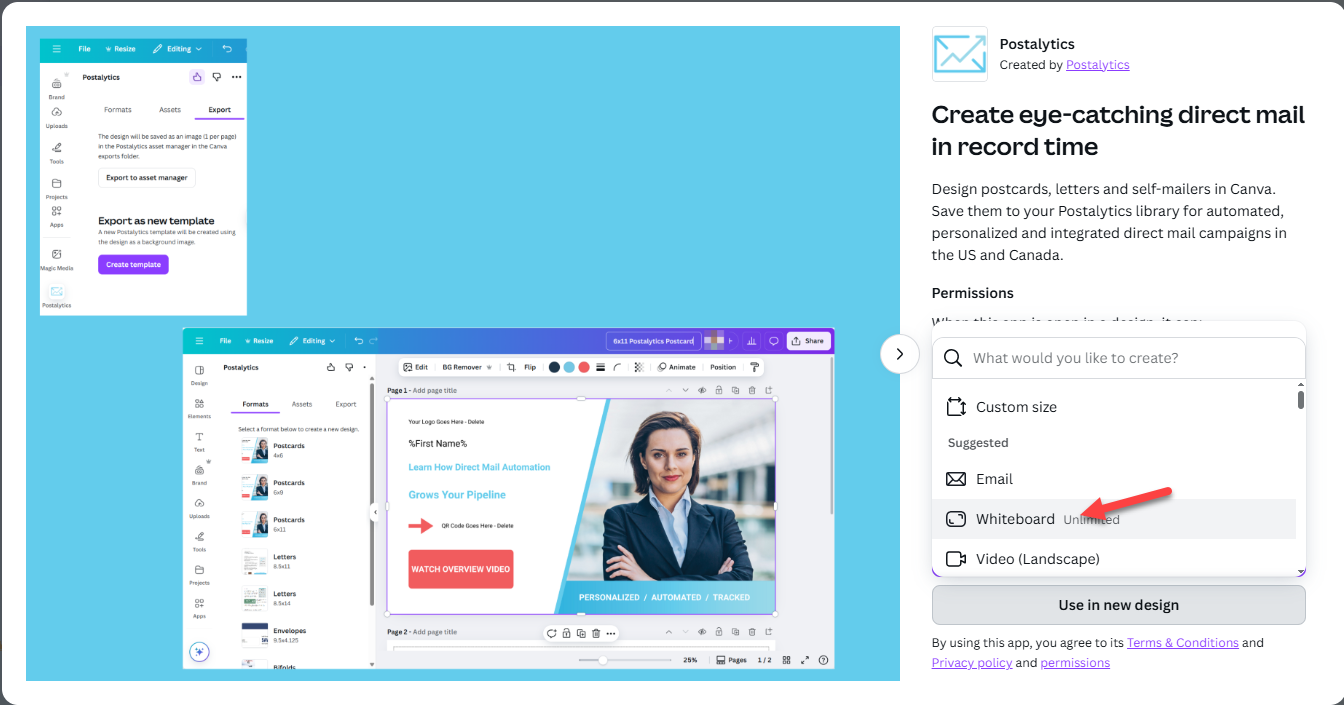
In the pop-up search section, select any of the dropdown menu items. (Once in the design area, you will only be able to select from Postalytics specific templates and sizes.)
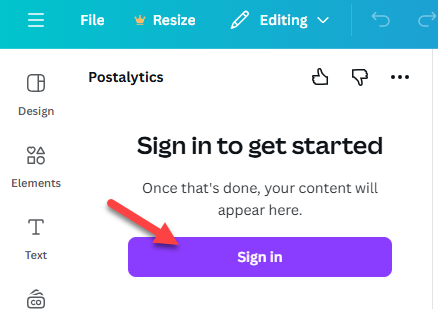
Sign into Postalytics to establish the connection. Click “Sign in” and then “Connect”, which will bring you to the Postalytics login window.


Finally, select the Postalytics template type you wish to create from the left hand panel, then click “Continue” in the following pop-up window to connect the two applications, and begin creating your template.


You’re now ready to move on to “Design a Template”.
Step 2: Design a Template
The chosen Postalytics template is now available within the Canva designer tool and is ready to be customized.
If your final mail piece requires variable text, personalized images, PURLs, or QR codes, you must design the necessary empty space for those elements directly within Canva. Then, after exporting your design into Postalytics, you’ll use the Postalytics Editor to layer those functional, trackable elements onto your imported background image.
Customize the front and back using Canva's design tools.
Use the Canva design tools in the left panel to create your design.
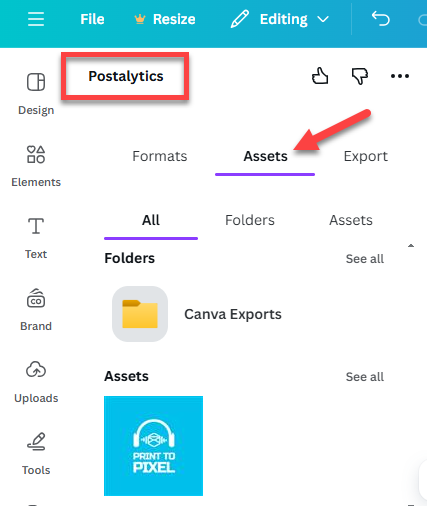
Use any of your Postalytics Assets. All of the assets that have been uploaded into your Postalytics account are also available to you now that the apps are connected.
To access, click “Assets” from within the Postalytics section.
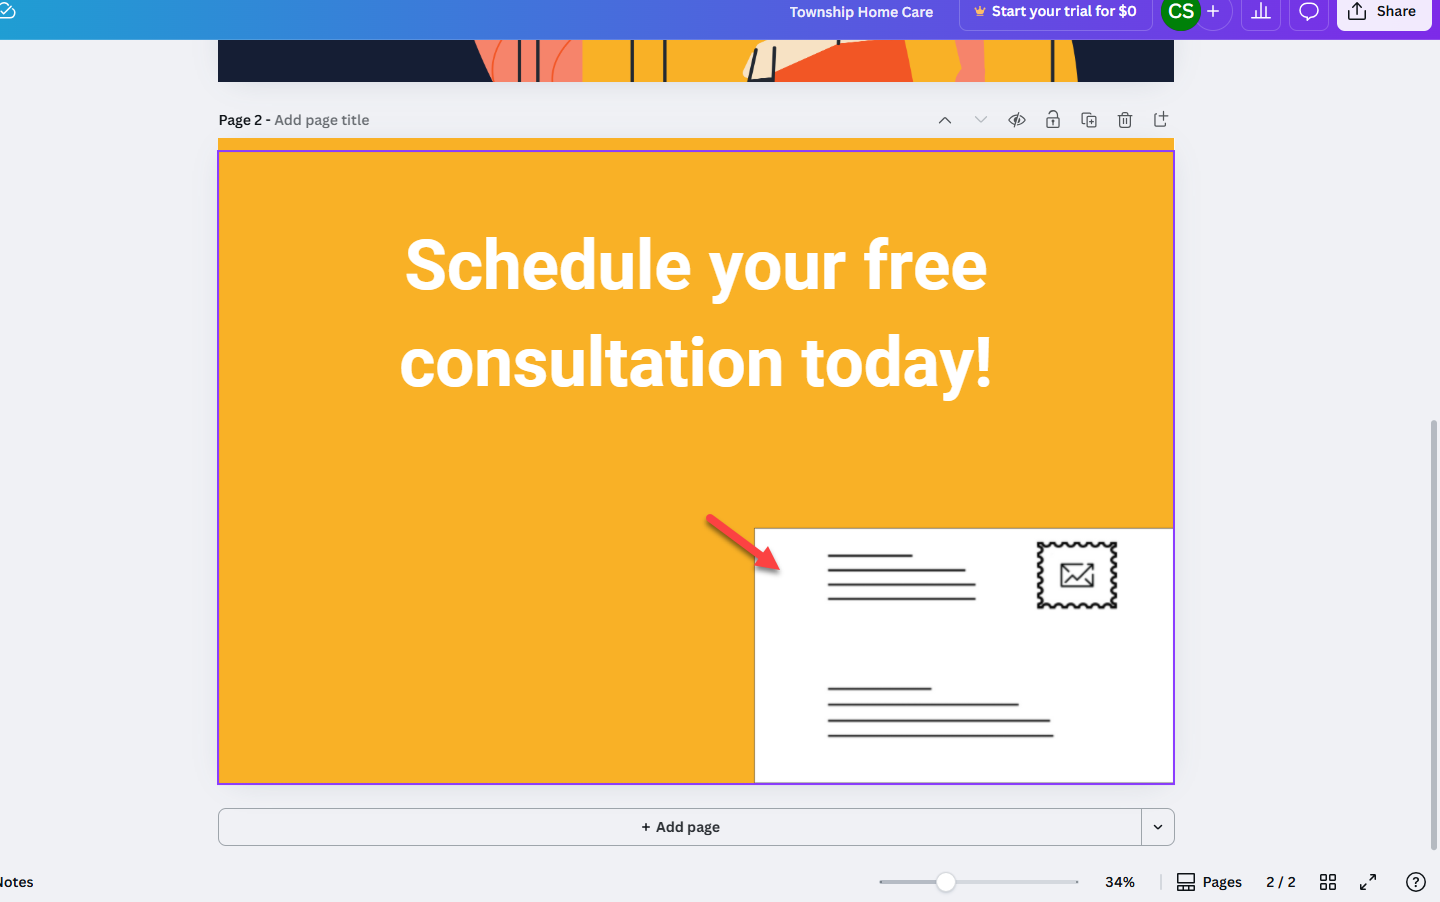
Important Design Note: ALL Postalytics templates have a pre-defined and non-editable addressing block area built in. This area is reserved for the recipient address, return address, and indicia (postage). Do not place any design elements in this designated area. The placement “image” in this area (lines and stamp) are removed during export.
When your design is complete and ready for mailing, click the greyed out “Postalytics” icon in the bottom left to return to the Postalytics section for exporting.
Step 3: Export a Template and Step 4: Access the Template in Postalytics
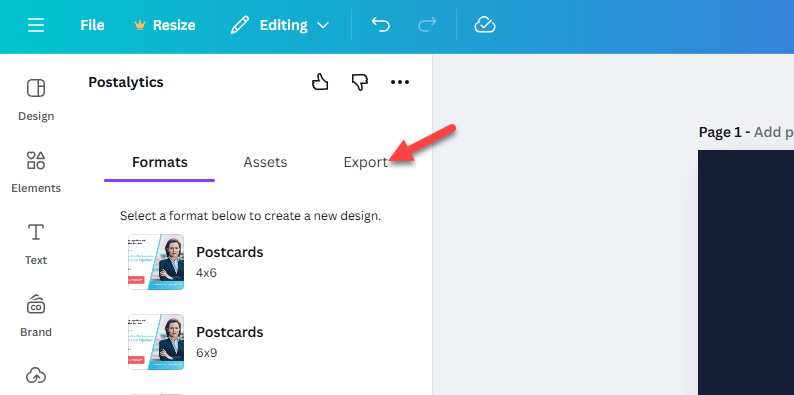
The Canva Postalytics connection offers two exporting options:
Export to Asset Manager - your design will be exported to your Postalytics Asset Manager.
Export as a New Template - your design will be exported to your Postalytics Template Library as a new template, ready to be finalized within The Postalytics Editor.
Begin the Export.
For either option, click "Export" in the top left of the Postalytics section.
Choose the export option to continue with.

Export to Asset Manager
Click “Export to asset manager”
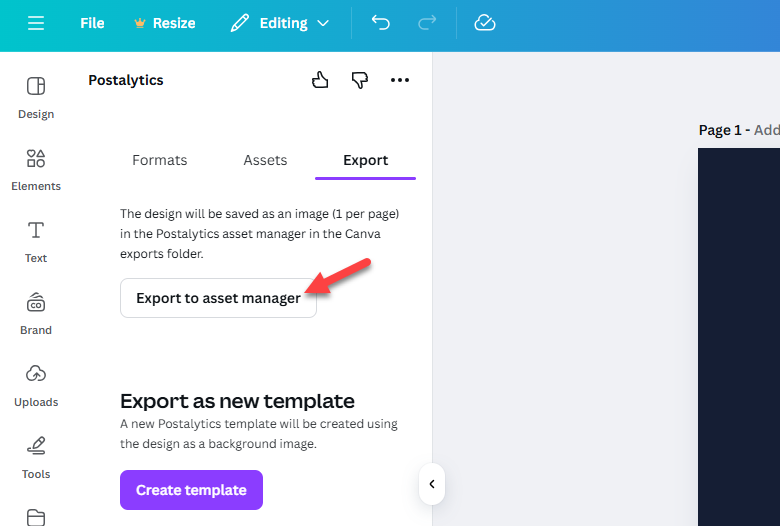
- The Export options will populate:
- File type: PNG, required by Postalytics.
- File size: The file size cannot be larger than 5 MB. An error will show when trying to export if the image size is larger and will not proceed until:
- The image is edited so that it is no longer over 5 MB.
- The export options are modified (Canva Pro or Business required) so that it is not larger than 5 MB.
- Select Pages: Select all. Each page will then download as a separate file, which is required by Postalytics.
- File type: PNG, required by Postalytics.
- Click “Done”, and then “Export”.


The design has successfully been exported to your Postalytics Asset Manager.
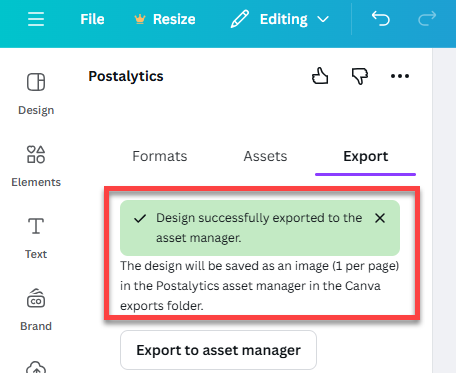
In your Postalytics account, navigate to “Manage Assets” under the “Creative” tab, then open the folder “Canva Exports”. Your Canva designs are now ready to be used as a background image when you create a new Template within the Postalytics Editor.

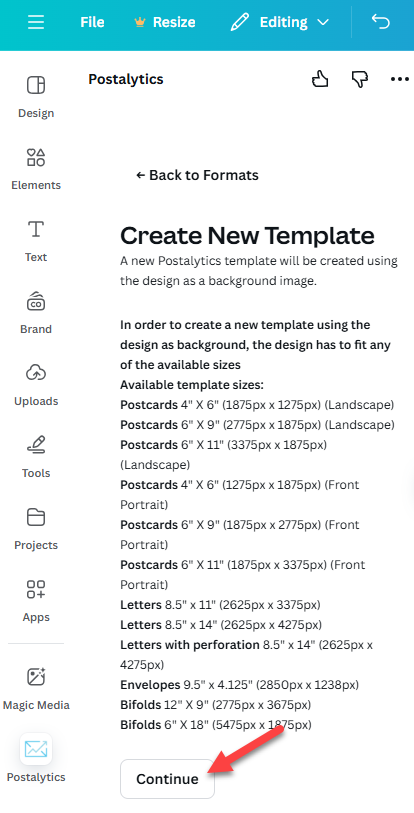
Export as a New Template
Click “Create template”

Next, click “Continue” at the bottom of the sizing specifications window.
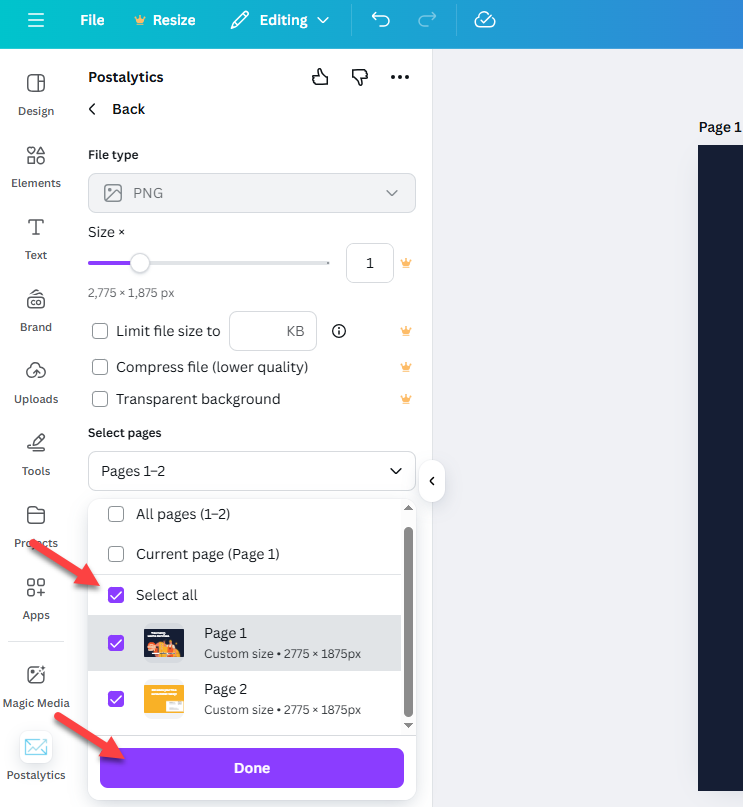
The Export options will populate.
File type: PNG, required by Postalytics.
File size: The size is set to the required Postalytics template size. Please do not edit. There is no need to check any of the boxes for: limit the file size, compress the files, or use a transparent background.
Select Pages: Select all. Each page will then download as a separate file, which is required by Postalytics.
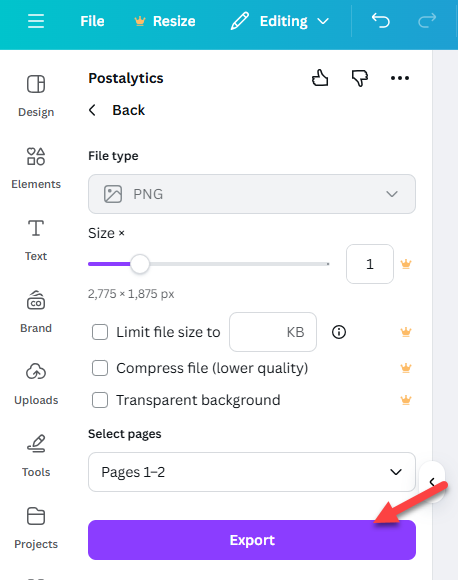
Click “Done”, and then “Export”.
The design has successfully been exported as a new template.
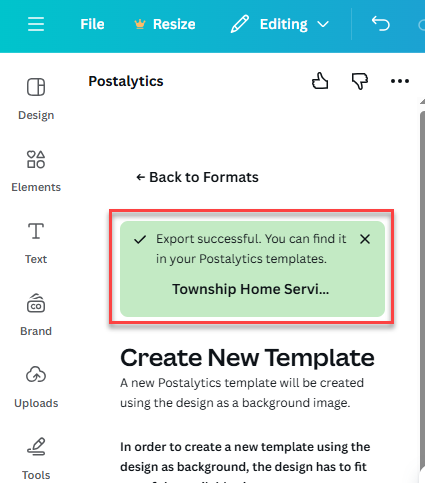
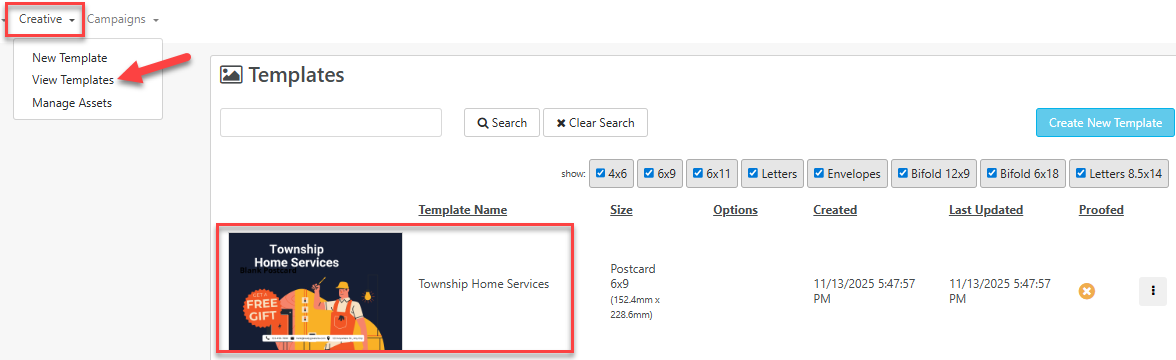
In your Postalytics account, navigate to “View Templates” under the “Creative” tab. The exported Canva design is listed within the template library.
Step 5: Add Personalization and Trackable Fields
No matter which way the template has been exported, you’re now ready to complete the design with additional personalization, variable data, pURL, and QR Code within the Postalytics Editor.
Step 6: Use The Proofed Template in a Campaign
Proofing the completed template using The Postalytics Proofer is the last step. The Proofer allows you to use your own data to review the template with dynamic data you’ve set up within the template. Once proofed you’re ready to use the template in any Smart Send, Triggered Drip, or Automated File Campaign.
Disconnect Postalytics from Canva
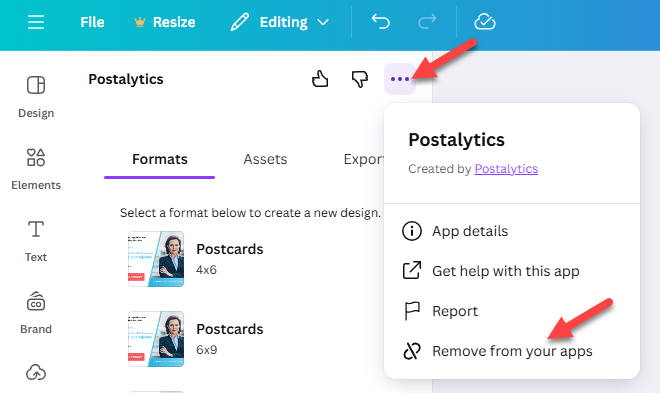
Canva will remember the connected Postalytics account until it is manually disconnected. To disconnect, click the ellipsis in the upper left corner of the Postalytics section and click “Remove from your apps”.
To re-connect in the future, simply follow the processes in the beginning of this article again.
Need Help?
If you have any questions about connecting or disconnecting the apps, template sizing, exporting, or launching your first campaign, we are here to help. Visit the Postalytics Support Center or Contact Our Support Team.