In order to receive the Postalytics status codes back to your Zoho CRM, you’ll first need to set up a custom field within a module. If you’d rather not receive the status codes back, simply skip this step.
Go to Settings->Customization->Modules and Fields.
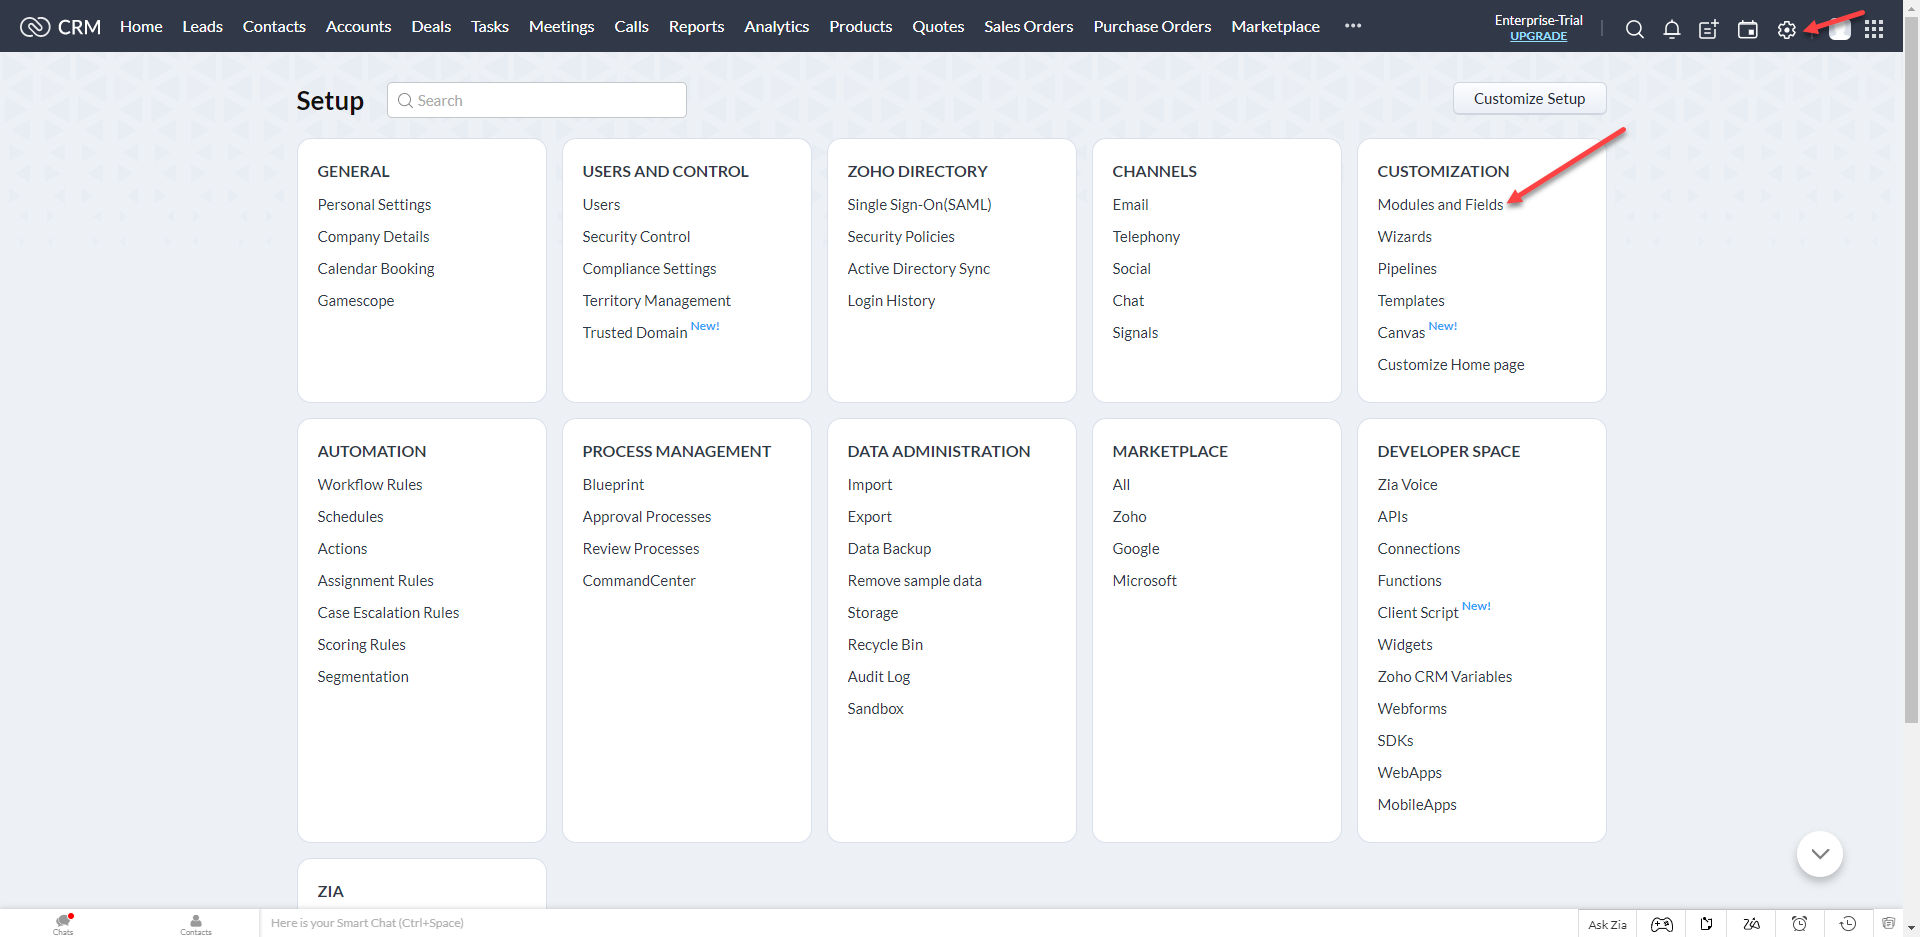
Next click on the module that you want to add the custom field to. In this example, we’ll use ‘Contacts’ . Click the ‘Fields’ tab on the top and then click ‘Create & Edit Fields’. We’ve also successfully tested the integration with Zoho Leads.

You’ll then drag a ‘Single Line’ element over and drop it at the bottom of the column.
You can name it whatever you like. Here we’ve called it ‘Postalytics Event’
Save and Close
Next, set up an Action to be used in a Webhook for posting to Postalytics.
Navigate from Settings, in the upper righthand corner, then select Automation->Actions.

From the Actions page, select the ‘Webhooks’ tab at the top. Here, you’ll create the webhook that sends your data to Postalytics.
Click ‘Configure Webhook’

Leave this page open and proceed with the Postalytics setup. We will return here shortly to send a test.
