Use Variable Data For A Personalized Return Address
Marketers know that personalizing a mailpiece can increase response rates, and Postalytics makes it easy to add personalization to your mailers with variable data, variable logic, and even variable images. Along with these powerful personalization tools, you also have the ability to utilize variable return addressing within a Campaign.
How To Set Up Variable Return Addresses In Postalytics
This Variable return address feature is available in all Postalytics campaign types.
There are a few steps to follow in the Template and Campaign setups, along with specific formatting within your data to make this happen.
Step 1: Set Up Your Data Fields
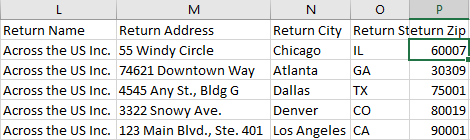
Your data will need to include the return address fields in the following layout:
Return Name
Return Address
Return City
Return State
Return Zip
Currently, address field 2 is not available, so any suite or unit number will need to be included in the Return Address field.
Step 2: Map Your Fields
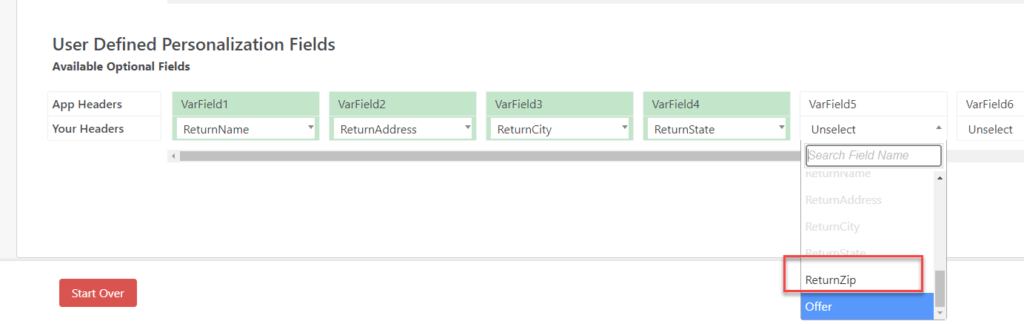
Upon uploading your data file, or mapping fields, you'll map the return address fields to the following “VarField” options, under the section “User Defined Personalization Fields”:
VarField 1: Return Name
VarField 2: Return Address
VarField 3: Return City
VarField 4: Return State
VarField 5: Return Zip
Step 3: Set Up In The Postalytics Template Proofer & Campaign Wizard
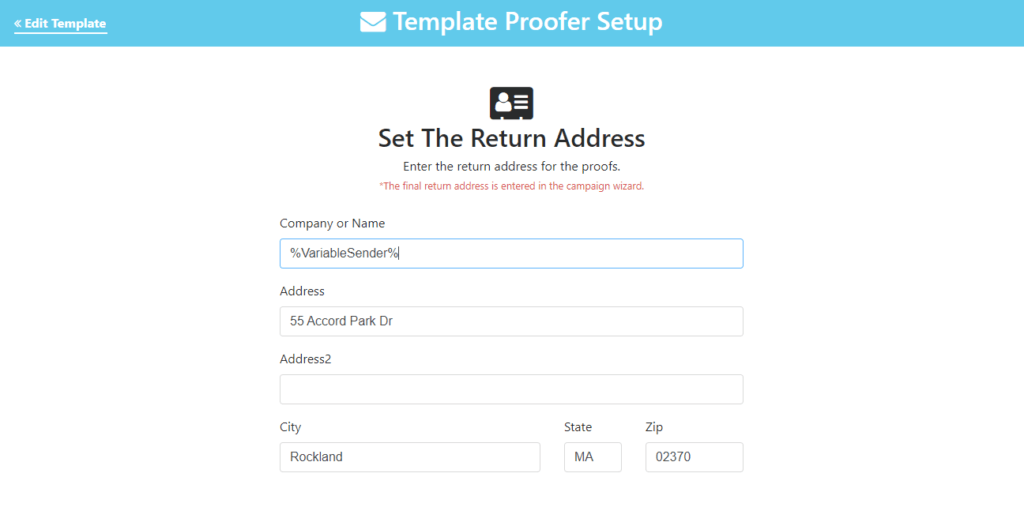
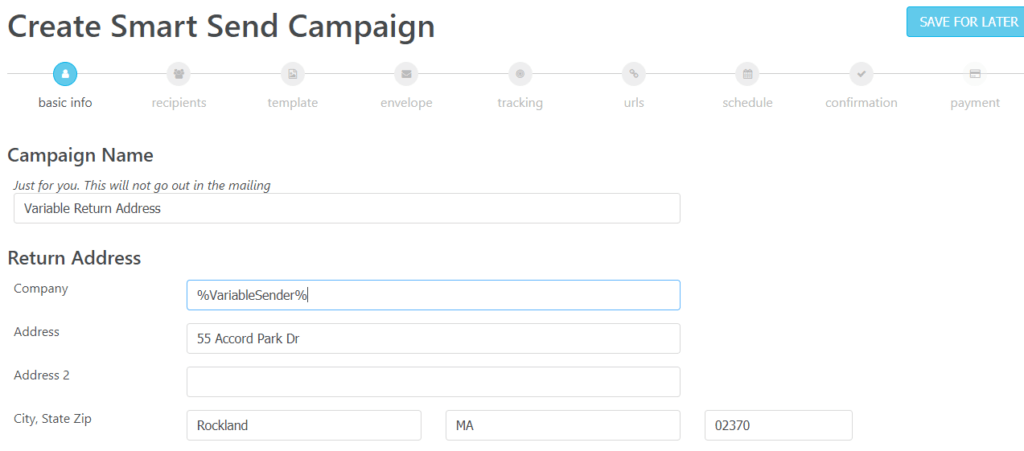
When setting up the return address area both in the Template Proofer and in the Campaign Wizard, enter %VariableSender% in the Company field.
You’ll also need to enter an address. The address you enter will be replaced with your variable data, but those fields must be populated in order to move forward.
It’s important to note that %VariableSender% is case sensitive, and cannot contain any spaces. Please enter it exactly as seen above and in the screenshot below:
Here’s a sample setup of the return address area in the Template Proofer:
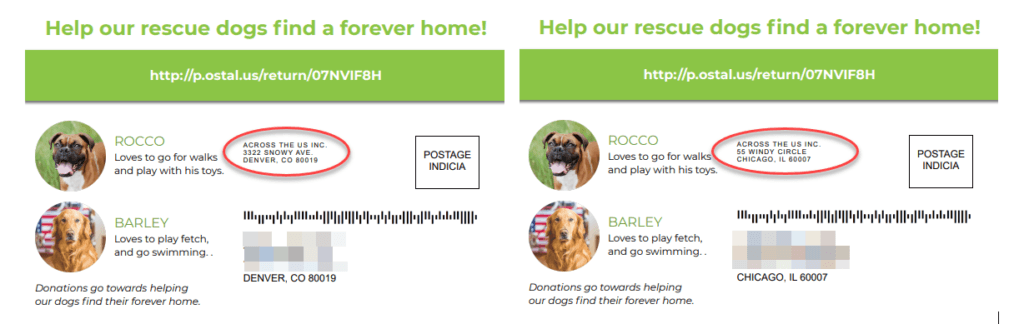
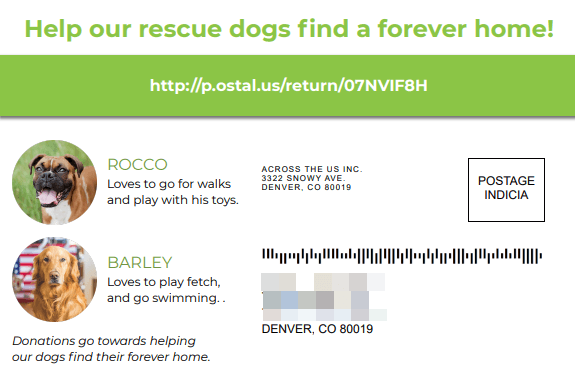
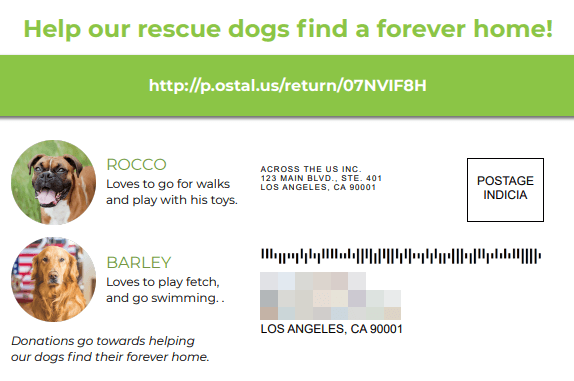
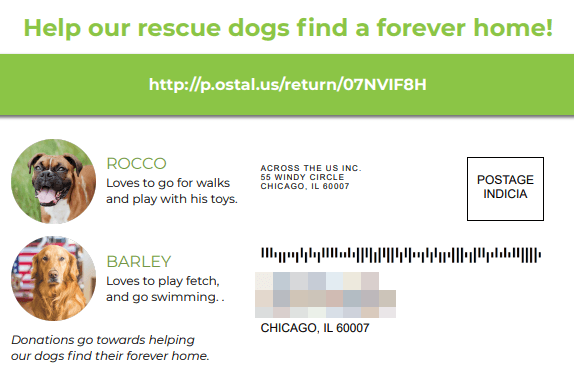
In the Template Proofer, you’ll be able to scroll through your records to confirm the variable return addresses in the PDF Viewer, like in the samples below:
Then, in the Campaign Wizard, you’ll set up the return address area like th:
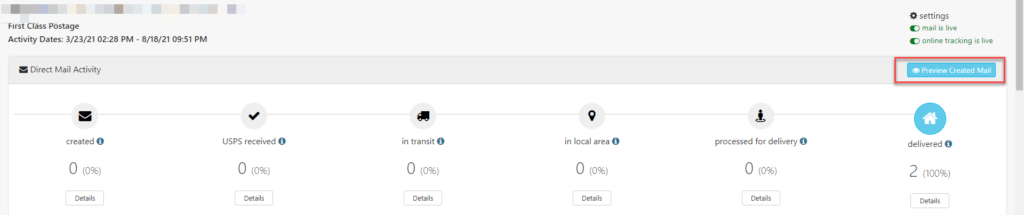
Once the Campaign Wizard is completed and your Campaign has been sent, you’ll be able to view the individual mailpieces created.
Simply select “Preview Created mail” from the Campaign Dashboard.